

First, I used a ruler to make a template. Robots are pretty easy because you really don't need any curves.

I gave myself a one inch allowance all the way around the robot. Then I pinned the template to the fabric. I cut out two pieces.

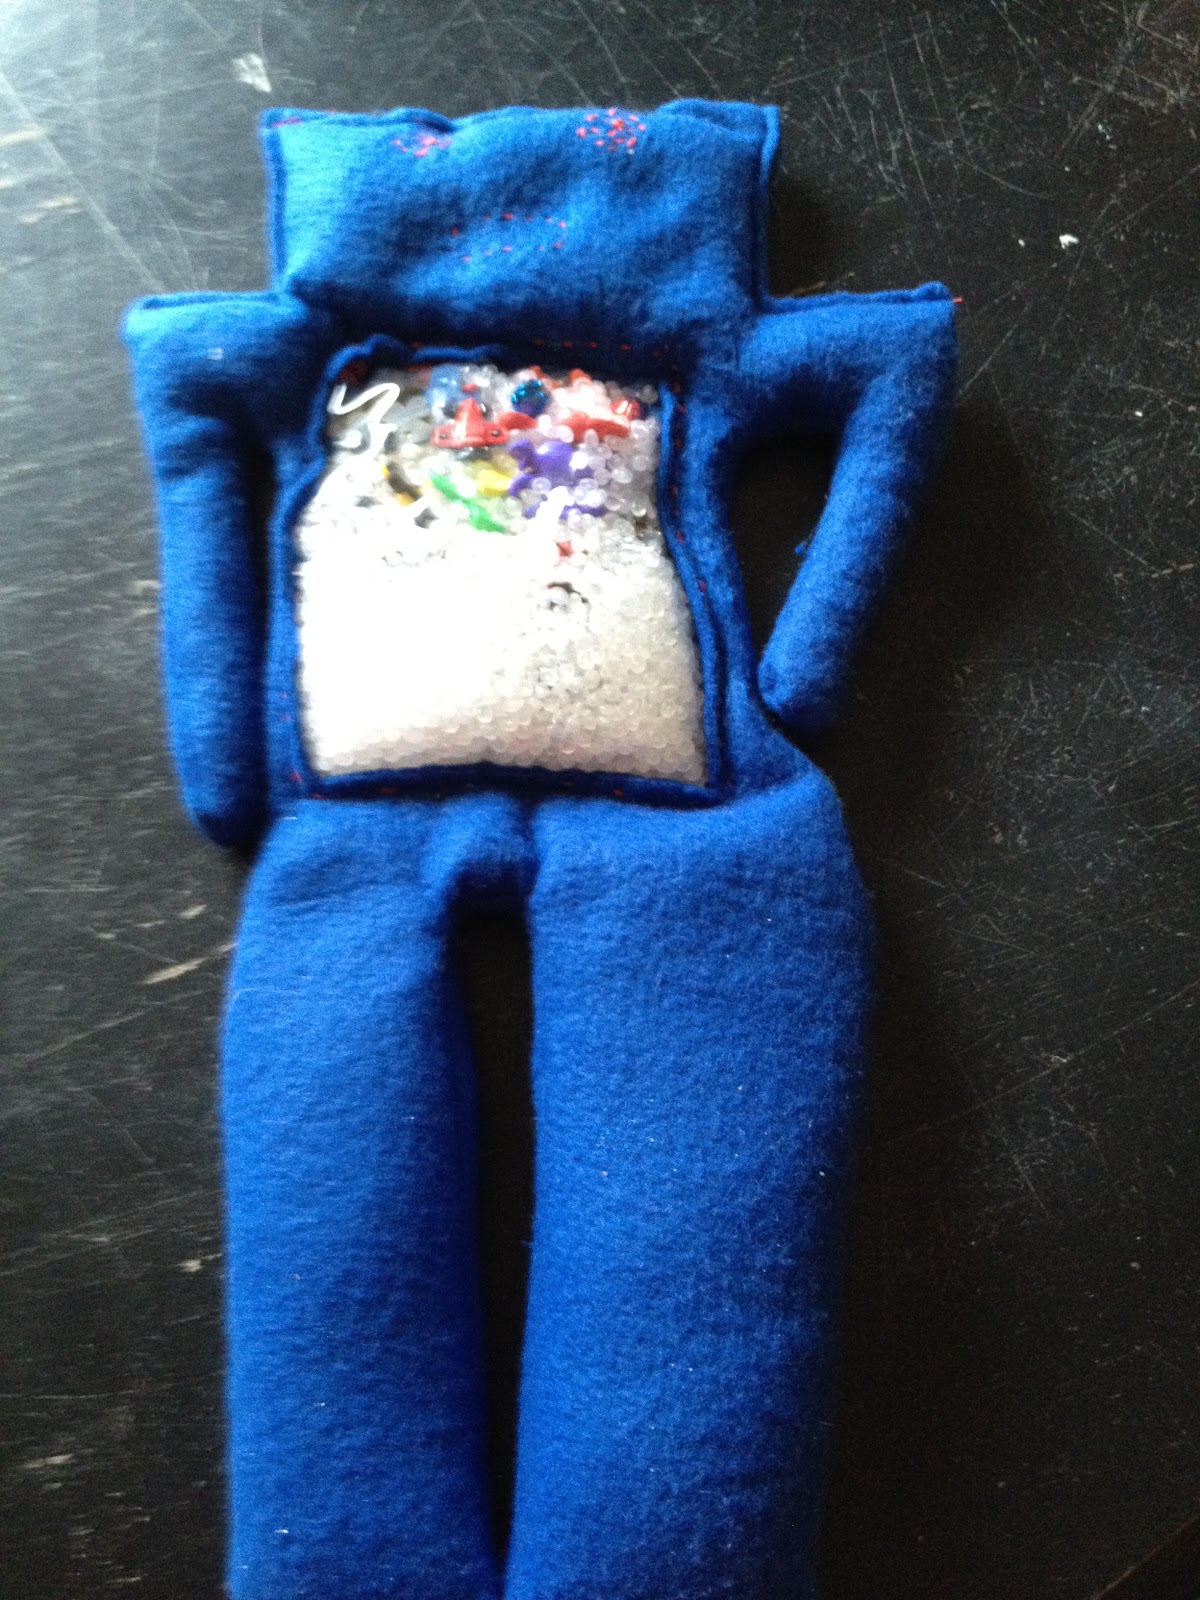
Next, I cut a hole in the middle of the belly of my robot on one piece of the fabric.

I hand sewed the piece of vinyl to the belly of the robot to keep the vinyl in place.

I pinned the two pieces of fabric together.

Then I ran the fabric through the sewing machine. I also sewed the vinyl on three sides leaving the top open.

Here is what the seams looked like before I trimmed it up.After this I trimmed off the excess and turned the robot inside out.

Then I put some little bells, car buttons, and dinosaurs in the robot belly along with some bean bag beads. Then I sewed up the belly. After that I filled up the rest of the robot with beans. I finished him off by sewing shut the head and I used embroidery floss to make some eyes and a mouth.

Tada! An I Spy Robot for my special Little Bit.
Happy crafting!
That is such a great gift. I am sure Little will love his I spy Robot! I got to try and make one for each of the grandchildren. Thanks for the tutorial.
ReplyDeleteCute Robot!...though he does look a little stern with his hand on his hip ;). Did your machine handle the vinyl ok? I've thought about making one of these but had worried that my machine wouldn't like the vinyl.
ReplyDeleteLittle Bit will have so much fun playing with his robot.
I so love this idea. You are so clever.
ReplyDeleteWell aren't you just the crafty one. Turned out really cute too.
ReplyDeleteBlogger just makes me so mad. Every time I click on the twitter to tweet it, for some reason it freezes up the comment section and I can't type any more.
ReplyDeleteNot just on your blog but other blogger blogs too.
https://twitter.com/#!/CandidaJourney/status/162315851754782720
This is great! Wish Little Bit a happy birthday for us will you! What special things are you doing for his birthday?
ReplyDeleteWe are having a tractor themed birthday party on Saturday for him :D Lots of family, cake, and prezzies. Should be a good time.
ReplyDeleteOh wow! That's awesome! And totally easy to make! I'll try that!!
ReplyDeleteVisiting from Thirsty Thursday! You can see my post here - http://www.marvelousmommy.com/2012/01/turkey-spinach-burger-recipe/
That is really cute! I will have to try this with my kids when they are older.
ReplyDeleteLive this - and thanks so much for the step by step instructions!
ReplyDeleteVisiting from Thirsty for Comments!
Oh, that is so fun! My youngest would love that!
ReplyDeleteI found you on the Sunday Showcase linky party.
Come visit us at www.layers-of-learning.com
Adorable! Thanks for the tutorial - I had been tryiing to figure out how to do it.
ReplyDeleteI just wanted to let you know I featured you on Blissful and Domestic today. Stop by and Grab a button:>
ReplyDeletehttp://blissfulanddomestic.blogspot.com/2012/02/15-learning-tips-for-littles.html