Showing posts with label Crafts. Show all posts

Tuesday, April 3, 2012

Easter Inspiration for a Two Year Old

Pin It
Can you believe that Easter is on Sunday? How the time is flying by this year. I have found some super fun pins that have inspired me and I thought you might like them as well!


An Easter Themed Sensory Bath with Egg Hunt, genius! Thanks to Growing a Jeweled Rose for this wonderful idea.

How about an Easter egg lunch hunt? This is going to be Little Bit's lunch tomorrow. I cant wait to see how he responds to it. Thank you Brandy from Gluesticks for thinking outside the plate!

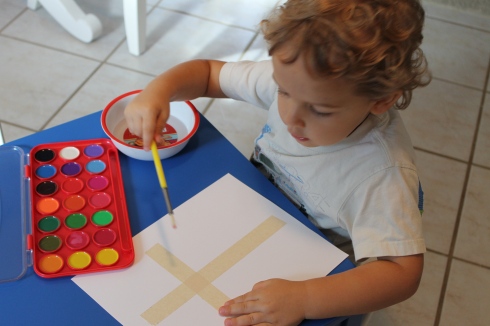
Our art project for tomorrow is inspired by this super simple but powerful craft designed by Happy Home Fairy.


Little Bit will be helping me to dye some eggs later this week thanks to this handy tip from Toddler Boredom Busters. 
Those are a few of my Easter inspirations for this year. If you would like to see all of the pins I have accumulated for Easter here is the link to my Easter Pinterest board. What projects are you whipping up for Easter? Are you making a feast on Sunday? Hope you all have a blessed week preparing for the risen King!

Tuesday, January 24, 2012

Robot I Spy Bag Tutorial

Pin It
Little Bit will be turning two on Friday. For his birthday I have made him an I Spy Robot. I thought you would all enjoy knowing how to make one of your own!

First, I used a ruler to make a template. Robots are pretty easy because you really don't need any curves.


I gave myself a one inch allowance all the way around the robot. Then I pinned the template to the fabric. I cut out two pieces.


Next, I cut a hole in the middle of the belly of my robot on one piece of the fabric.


I hand sewed the piece of vinyl to the belly of the robot to keep the vinyl in place.


I pinned the two pieces of fabric together.


Then I ran the fabric through the sewing machine. I also sewed the vinyl on three sides leaving the top open.

Here is what the seams looked like before I trimmed it up.After this I trimmed off the excess and turned the robot inside out.


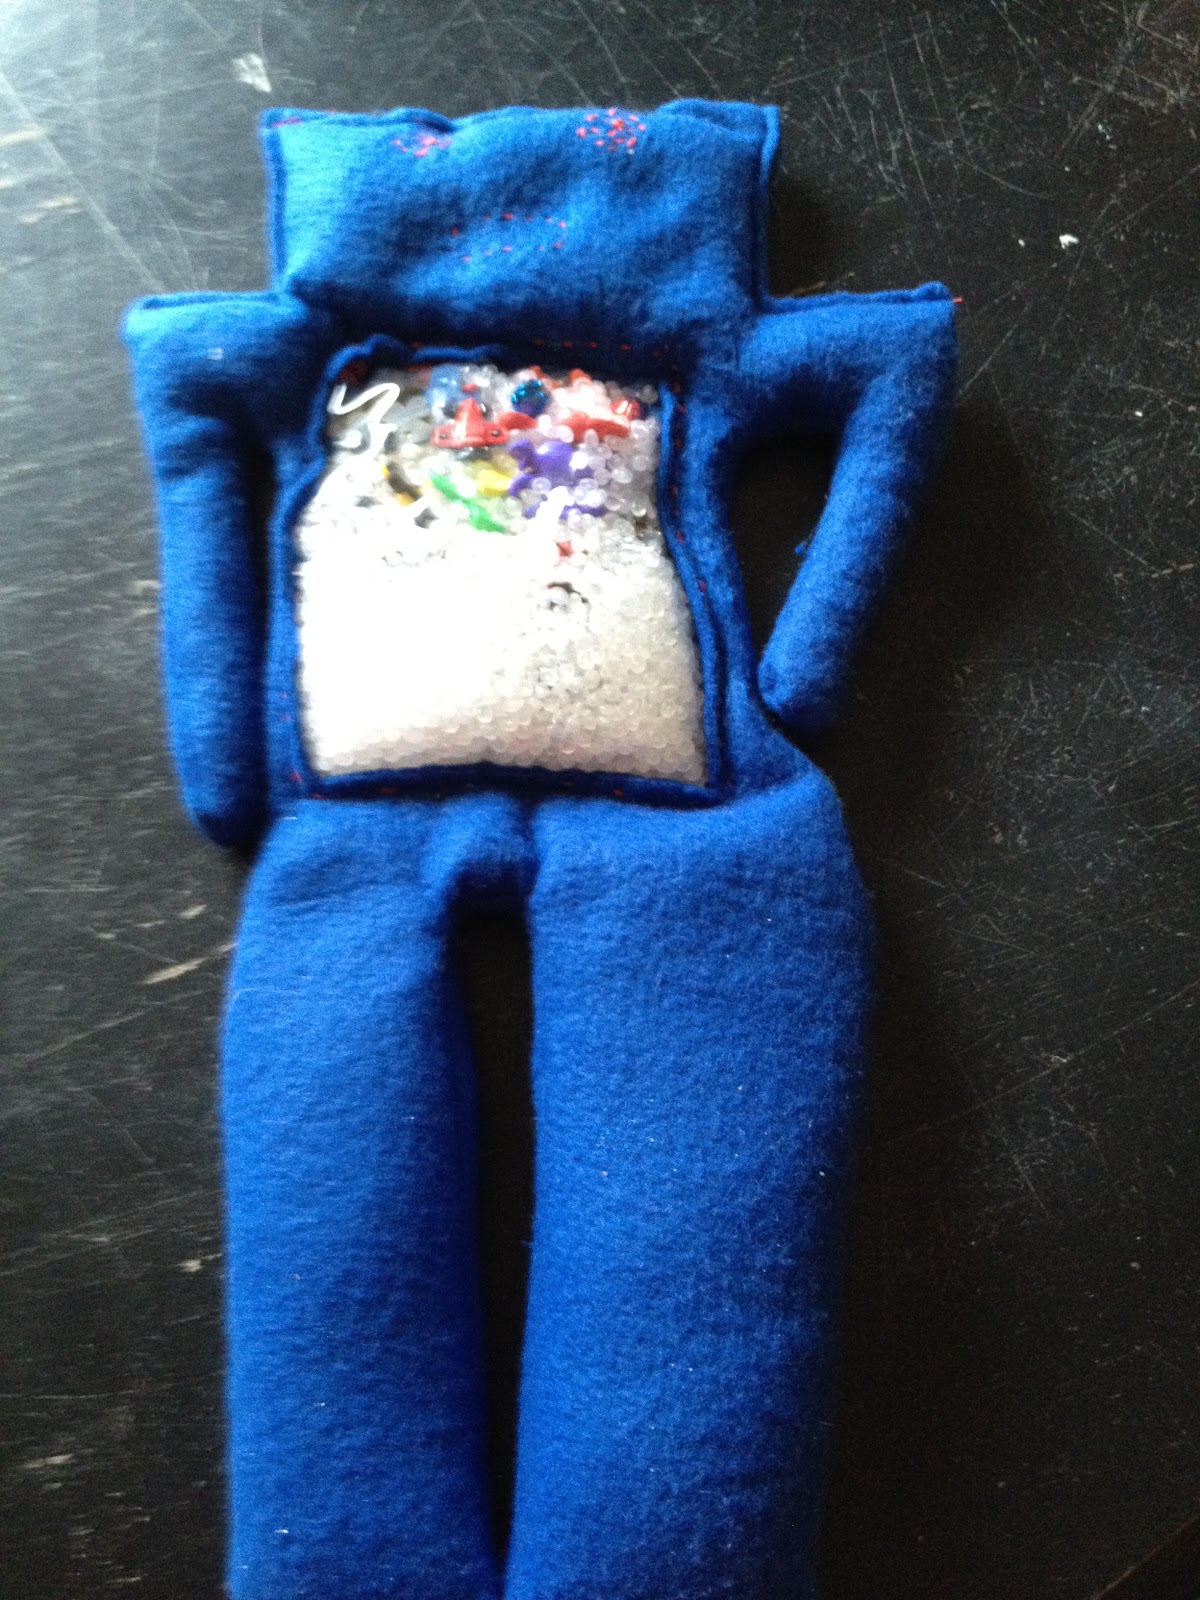
Then I put some little bells, car buttons, and dinosaurs in the robot belly along with some bean bag beads. Then I sewed up the belly. After that I filled up the rest of the robot with beans. I finished him off by sewing shut the head and I used embroidery floss to make some eyes and a mouth.


Tada! An I Spy Robot for my special Little Bit.


Happy crafting!

Friday, December 16, 2011

Crocheted Hat and Scarf

Pin It
Here is a sampling of what I have done so far with my new found skill. A hat and scarf for my Mom.


This is a close up of the flower I crocheted and attached to the hat. The picture doesn't do it much justice. It is super cute.


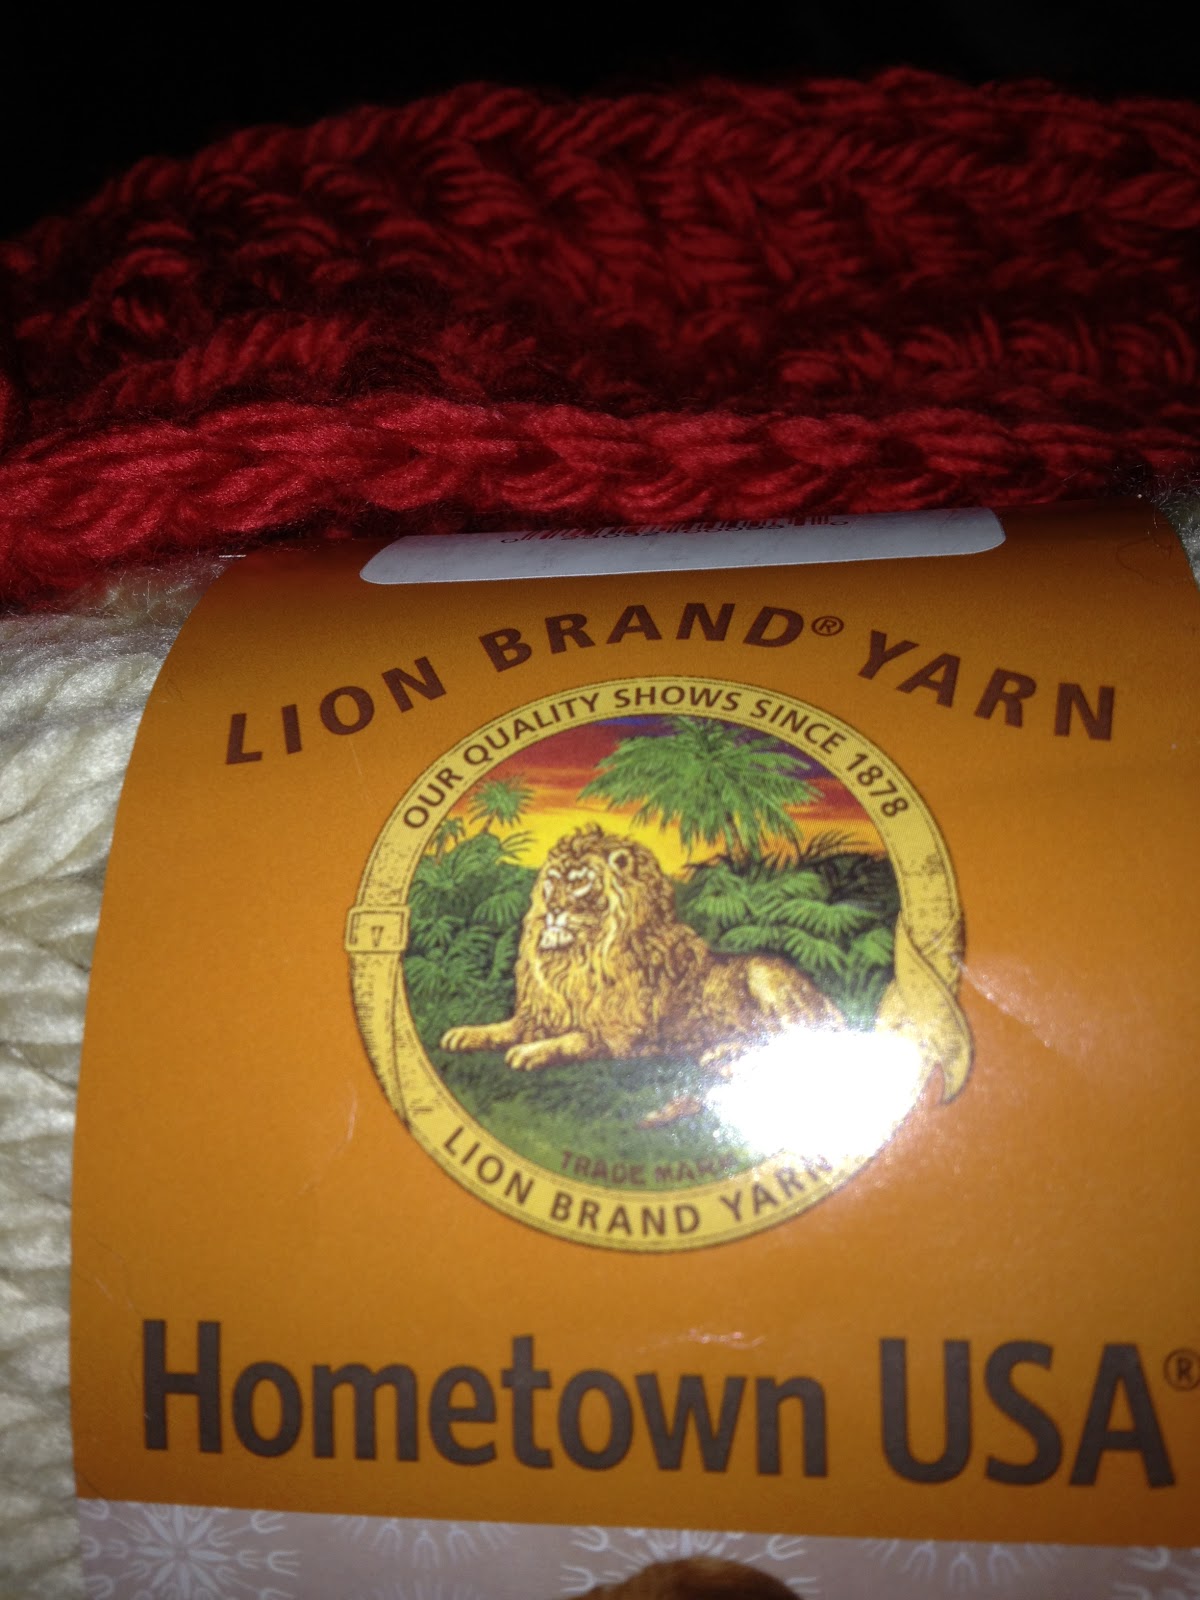
So far this is my favorite brand of yarn.


What is your favorite brand or type of yarn? Are you making Christmas presents this year?

Wednesday, December 14, 2011

I've Taught Myself To Crochet

Pin It
I love to craft. I'm kind of ADHD about it though. I hop around from craft to craft. My latest obsession is crochet. When I was a little girl I remember my Granny always had a hook and yarn in her hands. She made all kinds of beautiful things. She taught me to do a chain and a single crochet but after she passed I stopped practicing and quickly forgot the skills she had taught me.

One of my very dear friends is a crochet gal. We went to the Hobby Lobby one evening after our coffee shop girls night out. She was looking for yarn to make Christmas presents for her family. I was intrigued by all of the beautiful yarn. I really wanted to learn how to do it. She offered to show me but there were some pretty big obstacles like each of us having crazy busy toddlers and the fact that I am left handed and she is right handed. It makes a huge difference when you are teaching someone to crochet.

She suggested You Tube. What a novel idea. She helped me pick out some yarn and a hook and I went home on a mission. I am proud to say I have taught myself enough to crochet a scarf, a hat, and a flower. They aren't perfect but they are passable. I know my Mom and Mommy in Law will love them.

I want to pass onto you some crochet links I have found super helpful.

Crochet School : This is a fantastic site that literally shows you everything you need to know. If I had found this one in the first place I never would have looked anywhere else. I am about half way through the tutorials now. She even has tutorials for lefties and righties!

Crochet Geek : This lady is who I learned the basics from. I kind of had to piece together where I needed to start but these are great little videos. She also does left and right handed tutorials.

Pinterest : There is so much helpful information on Pinterest. This is a link to the crochet goodies I have amassed on Pinterest. I highly encourage you to dig around and see what you can find. Let me know if you start a crochet board I will certainly follow!

Have you ever taught yourself to do something via You Tube? It is so much fun to keep my hands busy and produce things that are useful to others. I adore it. What kind of crafty things have you been into lately?

Saturday, November 26, 2011

How To Make A Thanksgiving Headdress For A Toddler #GlueNGlitter #Cbais

Pin It
The day before Thanksgiving I decided that it would be super fun to make Little Bit and I to make a Thanksgiving project. My Mom's Great Grandmother was a full blooded American Indian. To celebrate that part of our family ancestry I thought it would be super neat to make him an American Indian headdress. It was a great project to do with an almost two year old.

We started out by going to Walmart to buy some supplies (check out our shopping trip here):
                                     
                               Elmer's Craft Bond Glue Dots          X-Acto Scissors


Later that afternoon Hubs, Little Bit, and I went outside. Hubs was winterizing our small engines and Little Bit and I were gathering more materials for our Thanksgiving headdress. I let Little Bit explore the yard. He picked up some acorns, leaves, and a bit of broken pine tree.


Now we started the crafty part of our project. We got our comfy clothes on and got to business.


I free handed some feathers onto the Elmer's Tri-Fold Foam Board . I really liked using this bigger board so I will have some on hand for my next project. 


I cut the feathers out. I tried using my new X-Acto Scissors but they were no match for that thick foam board. Luckily my trusty kitchen mamba jamba scissors worked in a pinch. After I had the feathers cut out I let Little Bit color them. I did let him color on the foam board so he wouldn't color on my comforter! 


Next I took a piece of floor paper and measured Little Bit's head with it. I had to add a little to it. Thankfully I had bought those Elmer's Craft Bond Glue Dots. Fold the paper to the width that you want like this.


Add a little extra with some Elmer's Craft Bond Glue Dots if you need to.


Whala! We have a base for our Thanksgiving headdress.


I used my Elmer's Craft Bond Glue Dots again and placed the feathers on the base.


Next we took the outside elements and attached them to the base and the feathers with our Elmer's Craft Bond Glue Dots.


After all of our crafting fun it was time to try on the Thanksgiving headdress. Well that didn't quite work out. It didn't work out the day before Thanksgiving or on Thanksgiving day. Le sigh...


We did however have lots of fun putting it together, taking out nature walk to find elements, and gathering up more Elmer's products.


Have you ever made a Thanksgiving headdress with your Little Bits? Does this look like a simple project you could do? I think we may have to do this again but with a winter inspired theme! Happy crafting everyone.

This project has been compensated as part of a social shopper insights study for Elmer's #gluenglitter #collectivebias #cbias but all of the opinions and the tutorial are my very own. 

Sunday, October 30, 2011

Garden Gnome Hat From A Sweater

Pin It
I love dressing Little Bit up. Halloween is no exception. These are the few precious years where I have complete control over what he wears for Halloween. I had considered the option I chose this year last year. Honestly, I am glad I waited. It will be so much cuter now that he is up and walking around.

Little Bit is going to be a garden gnome! I found a cute little costume at Target for $20. It has a pair of bibs with a shirt attached, little red slippers for his feet, and a hat with a beard attached.  I had a feeling when I bought it that he wouldn't wear the beard. I came home and sure enough the beard was a no-go. Then I tried it without the beard. Still a no-go. Well a garden gnome MUST have a pointy red hat, right?

Momma got crafty. I bought a red sweater from the Salvation Army that was on sale for $1.50. Then I drew a little cone hat on the inside of the sweater with a sharpie. I cut it out, pinned it up, and ran it through my sewing machine. It fits pretty perfectly. Our town is doing trick-or-treating tomorrow night so I will put the pics up of the whole outfit within the next couple of days.

Isn't is so much fun to dress your child up? I love it. What are your kids dressing up as this year? If your Little Bits are to big, what was your favorite Halloween costume that they wore? Happy Halloween everyone!

Friday, September 16, 2011

Matchbox Jar

Pin It
One of my favorite crafting blogs is Craftaholics Anonymous. She is a crafting genius! When I came across her idea for a matchbox made out of a mason jar I knew I had to try it out.

I gathered up my supplies.


I measured the sand paper, cut it out, and glued it to the jar lid.


I tried striking one of the matches.


It was a no go. My sand paper was to fine so I just glued the side of the matchbox on top of the sandpaper.


Presto!


I have a garden tub that is my daily Momma time out. I keep the matches next to the tub and sometimes they get damp which ruins them. This is the perfect solution and it's pretty to boot!